

Shane Speal's 1 Hour Project: Make Your Own "Shabby-Chic" Lap Steel
Looking for an exciting one-hour project that rocks? Check out this lap steel made using beautiful, salvaged wood and a handful of parts.
Yesterday, I got the urge to build something new, so I went into my woodshop and challenged myself to make something within one hour.
The time restriction made the project even more interesting and added an element of excitement.
Using an old, salvaged baluster and a handful of C. B. Gitty parts, I made this "Shabby-Chic" lap steel.
Here's the demo video...
Watch the Video
Although Shane mentions a now-expired contest at the end of the video, the rest of what's in there remains as useful and inspiring as ever.
See the Pictures
I purchased four reclaimed balusters from an architectural salvage company run by a local charity.
Each tattered and paint-chipped piece only cost me $3!
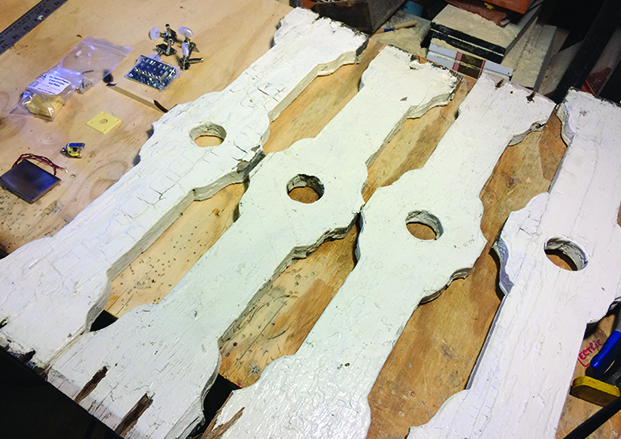
I decided to turn one of these balusters into a 4-string lap steel.
Here's the list of parts I used to create this easy and fun project...
Get the Parts
- 4-string Chrome Hardtail Bridge
- Shane Speal Signature 4-String Cigar Box Guitar Tuners
- "GittyBucker" Hand-Wound Surface-Mount Pickup
- Long-shank Brass Economy String Ferrules
- Neutrik Mono Guitar Jack
- Maple Kay-style Bridge
- A, D, G & B strings from a pack of Shane Speal Signature Guitar Strings
- Plastic Jack Plate

Follow the Steps
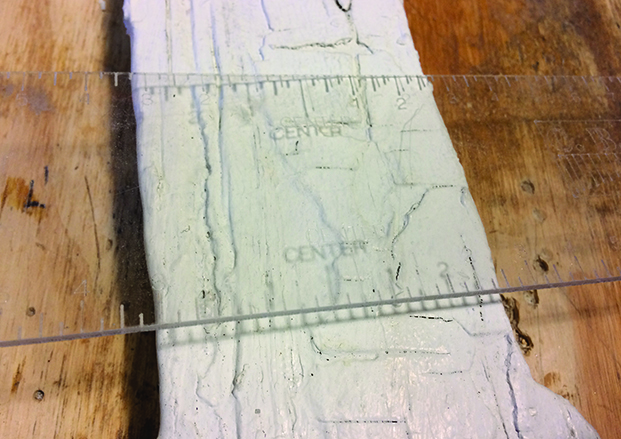
The first thing I did was to use a C. B. Gitty Centering Ruler to find the center-point for bridge mounting.
This ruler is a genius tool that is essential in my workshop.
Simply place it on your project, match the numbers up on each side of the ruler and, bazinga, you have a centerline.
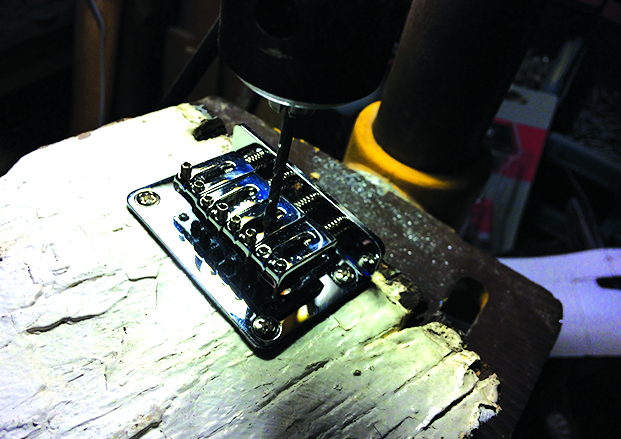
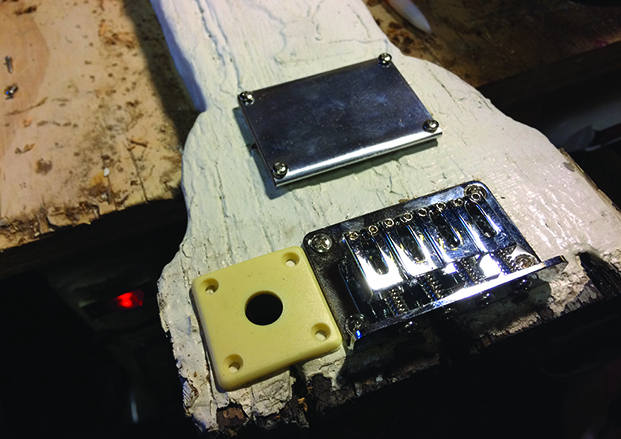
After establishing the center-point, I mounted the bridge.
These hardtail bridges are a delight to use.
I especially like the 4-string model because it's designed for the strings to bed fed through the body and up over the saddles.
Since the salvaged baluster was weakened due to age, having the strings fed through the body gives the bridge one extra anchor to hold it tight.
To get the strings fed up and through the baluster, I used a 7/64-inch drill bit and drilled right through the string holes under the saddles.
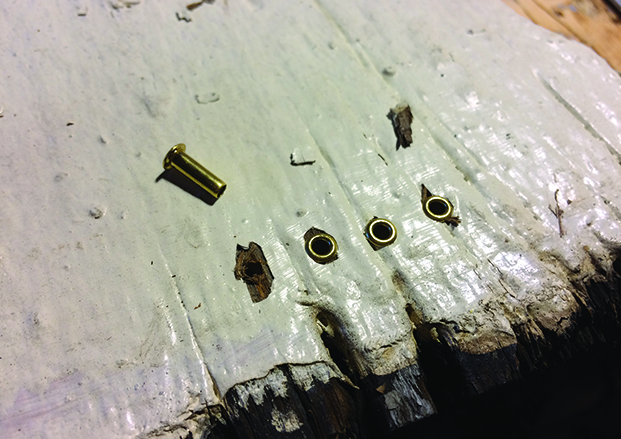
I added economy string ferrules on the back of the body to keep the ball-ends of the strings from pulling through the wood.
They easily tapped into place with a C. B. Gitty Fretting Hammer.
I must admit, the headstock was a bit of a mess.
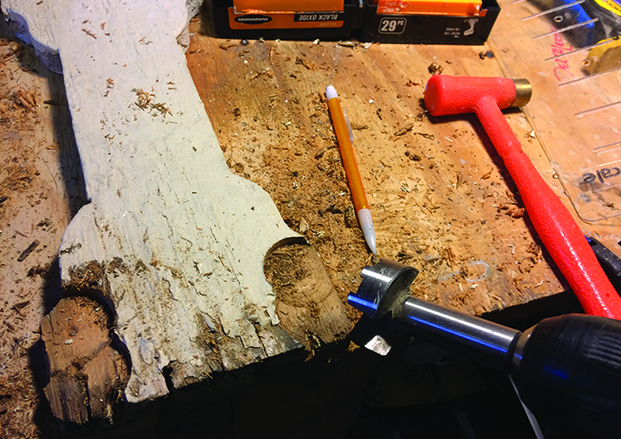
Because the wood was too thick for the tuners' shafts, I used a 1-inch Forstner bit to remove some wood from the backside where the tuners would be mounted.
The end result is kind of ugly on the back, but that's the challenge of building something within one hour!
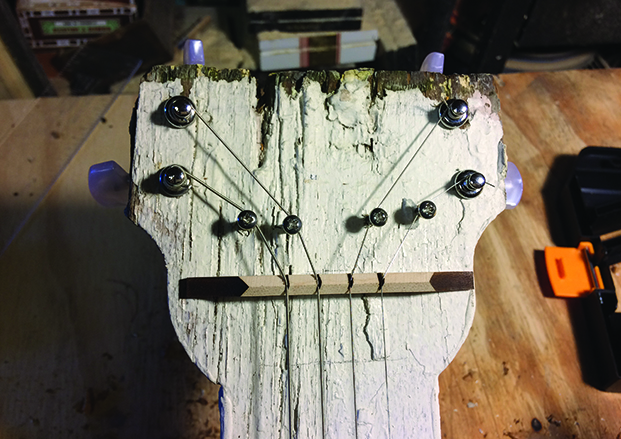
Next, I drilled and mounted the tuners.
Because there wasn't a lot of room for the tuners, I mounted two of them at the top of the headstock.
The look just adds to the quirkiness of the guitar.
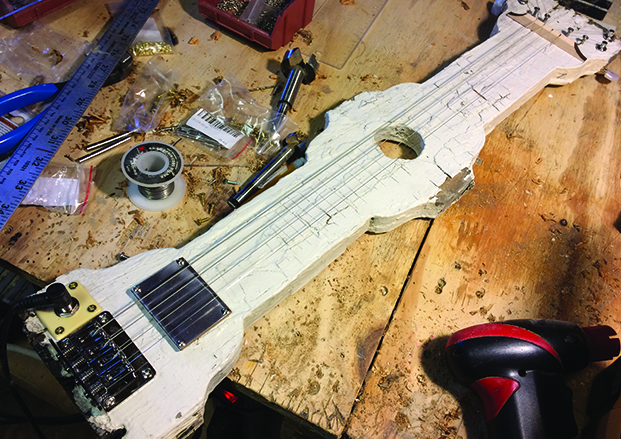
The pickup was easy to mount.
Marty Tauber's Wickedbucker pickups are so thin, you don't need to route the body for them.
Just screw 'em to the top of the body!
I drilled a small hole under the pickup for the wire, which dangles out the back of the lap steel.
I then hardwired it to the Neutrik jack and mounted the jack plate.
I chose a C. B. Gitty floating bridge as the nut because I knew I could dig some very deep string slots in it.
The slots need to be deep to handle the radical angles of the headstock string pull.
I used a cutting bit on my Dremel to cut the string slots.
Finally, I strung the beast up.
The biggest challenge was positioning the nut and the string angles at the headstock.
I had to add some round head screws to act as string trees.
It's tuned to open G (GDGB) or G Minor (GDGBb)
This was a fun build that went fast.
Funny thing is, it took longer to blog about it than to actually build it!
Conclusion
As you can see, it doesn't take much time or many parts to build a gloriously shabby lap steel guitar.
And with a one-hour time constraint, this project was even more interesting and exciting than usual!
Make your own "Shabby- Chic" lap steel with these C. B. Gitty parts:
- 4-string Chrome Hardtail Bridge
- Shane Speal Signature 4-String Cigar Box Guitar Tuners
- "WickedBucker" Hand-Wound Surface-Mount Pickup
- Long-shank Brass Economy String Ferrules
- Neutrik Mono Guitar Jack
- Maple Kay-style Bridge
- A, D, G & B strings from a pack of Shane Speal Signature Guitar Strings
- Plastic Jack Plate
Read These Next
Learn how to make your lap steel stand on its own...
How to Add Legs to a 2x4 Lap Steel Guitar
Real-world tips for finding salvaged parts for your instruments...
Gitty's Guide to Junkin' and Pickin' for Cigar Box Guitar Building - Part 1
Gitty's Guide to Junkin' and Pickin' for Cigar Box Guitar Building - Part 2
Learn how to make the fret lines pop on acrylic lap steel fretboards...
How to Make Dark, Black Fret Lines on C. B. Gitty Acrylic Fretboards
Recent Posts
-

2024 Double-Neck Cigar Box Guitar Build-Off! $500 in prizes!
Why should Led Zeppelin or Rush have all the fun? We build cigar box guitars... so let's make …22nd Apr 2024 -

How to Get Free Stuff with Your C. B. Gitty Order
Shopping for your instrument parts can be just as fun as building the instrument, especially when th …6th Mar 2024 -

Will JEB Dermady's Award Winning Boat Oar Guitar!
C. B. Gitty presents the winner of the 2024 New Orleans Cigar Box Guitar Build-Off, Will Dermady of …22nd Feb 2024