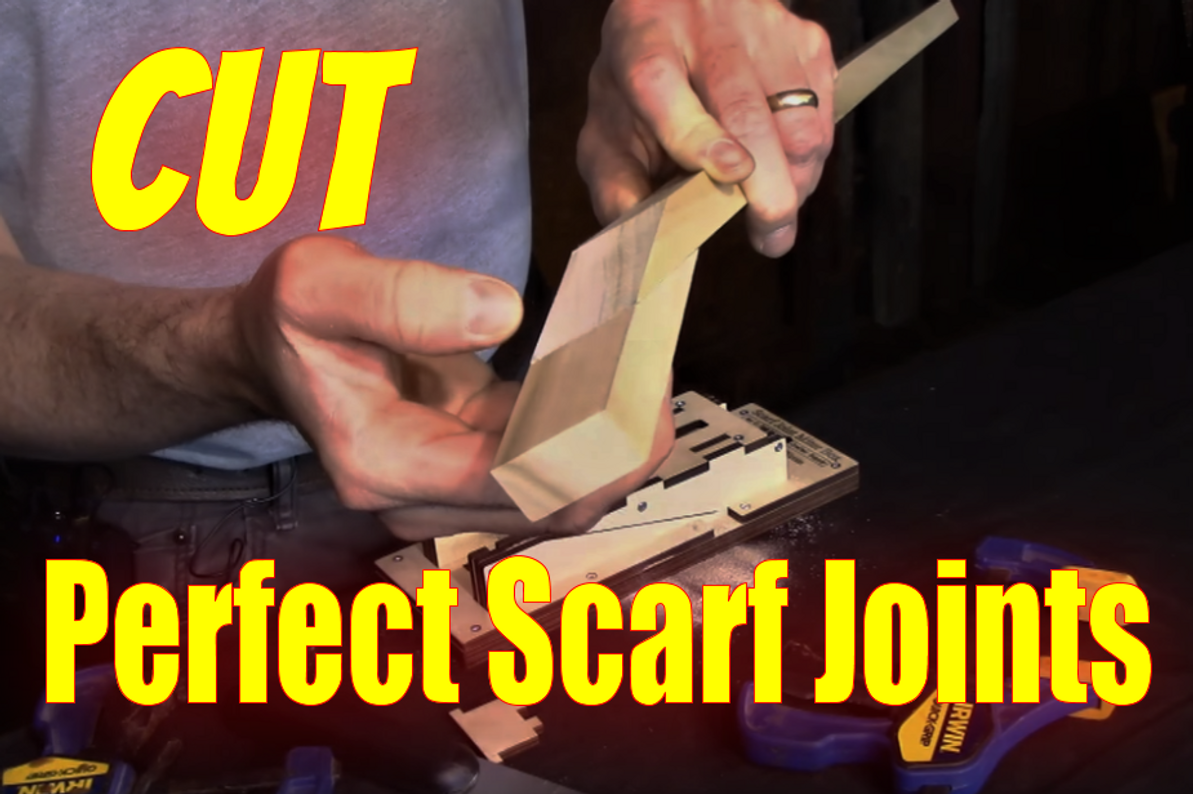
How To Cut Perfect Cigar Box Guitar Scarf Joints By Hand
Have you cut a scarf joint for your cigar box guitar neck by hand?
Was the cut frustrating and did the result require a lot of sanding to make the joint glue-ready?
What if you could have a simple scarf joint miter box to assemble, then flawlessly cut scarf joints to your heart's content?
With our new scarf joint miter box kit that's exactly what you'll get.
We Heard Your Frustrations...
Hearing the frustrations voiced by builders who don't have the tools and resources to effectively cut accurate scarf joints, Ben "Gitty" Baker got to work.
And Found the Solution to Your Problem
After many much testing, Gitty finally got the solution to every cigar box guitar builder's problem: a simple miter box to cut perfect scarf joints by hand.
To make certain the box is a breeze to assemble, Ben made a video walking through the process, step-by-step, then demonstrated how easy it really is to cut a scarf joint using the miter box.
After the video below, you'll see a text and image cut-up of the video for another look at how easy the box is to assemble and use.
Here first is that video.
Watch the Video
See the Images and Transcript
Here you're going to learn how to assemble our scarf joint miter box kit.
This tool allows you to cut perfect scarf joints for your cigar box guitar necks using only hand tools.
Part 1: Assembling the Kit
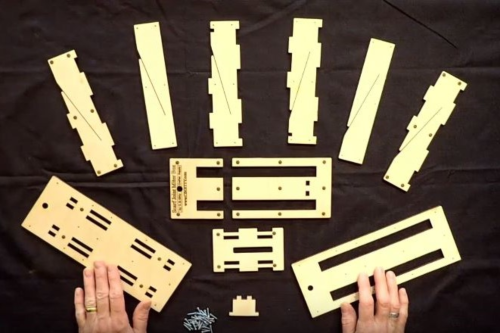
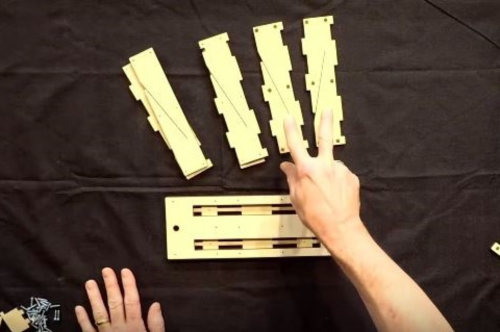
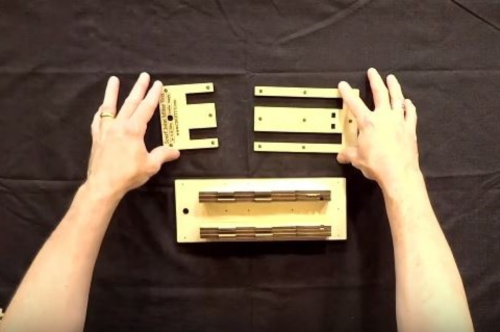
Begin by laying out your parts and verifying your kit came with all of the required components.
There are --
--> 6 side panels
--> 4 base plates
--> 1 top plate
--> 1 depth stop
--> and 36 screws
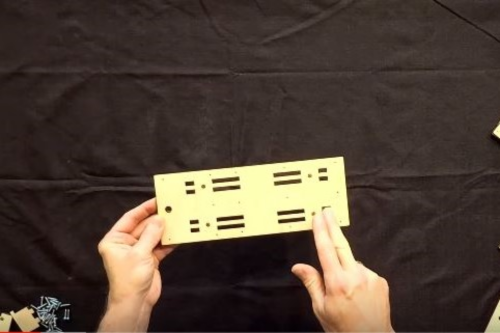
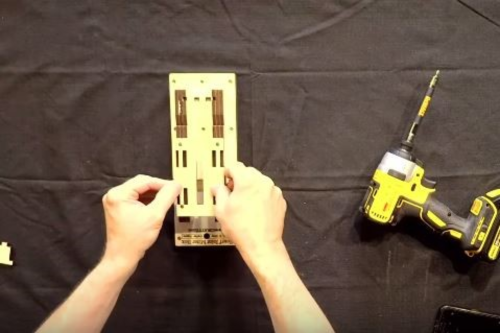
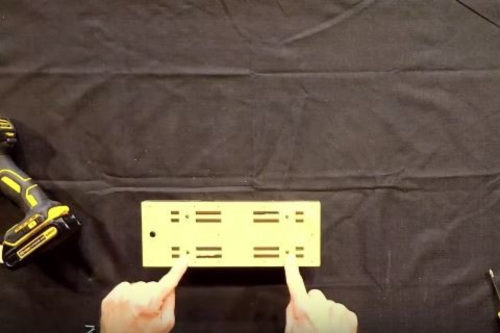
Begin with the bottom base plate.
This is the one with the series of rectangular holes, and on the bottom-side you will see holes with countersinking circles around them.
Begin with this piece countersinking circle-side down.
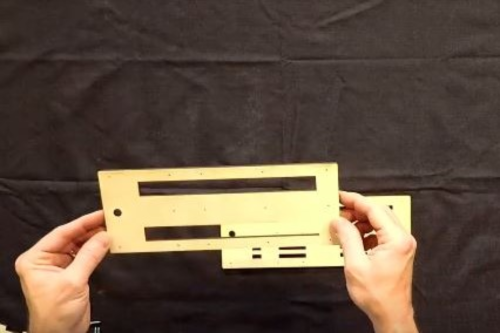
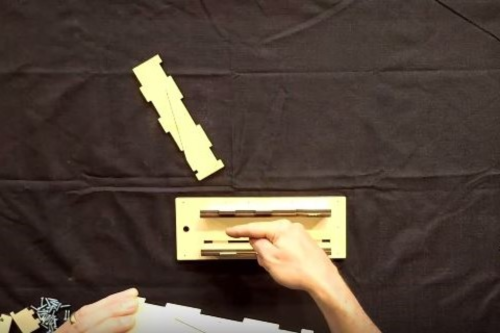
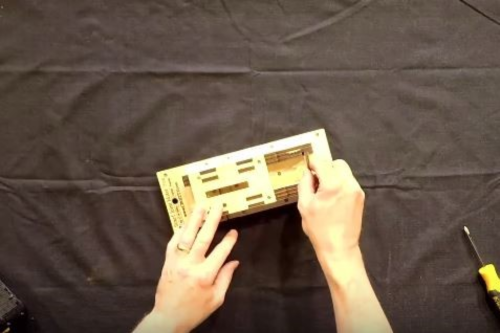
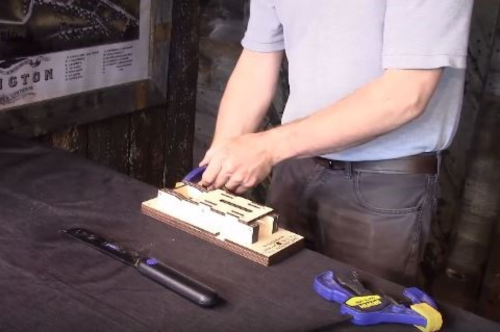
Next, take your middle piece of the base, line up the hanging holes [seen by left hand in picture], and place it over the base.
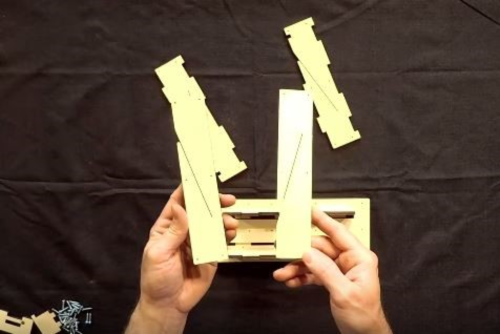
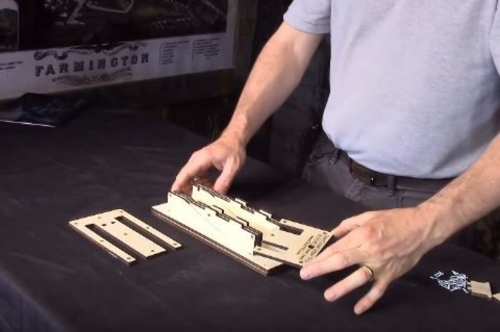
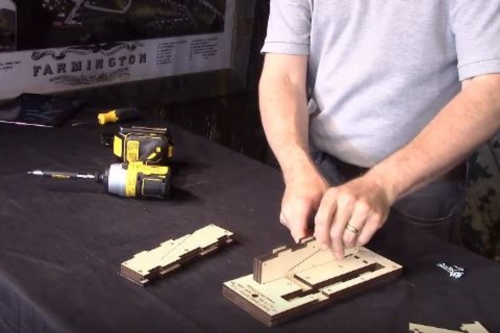
Now it's time to begin inserting the side panel pieces into the base.
Begin by finding the two side panel pieces that have the countersinking circles.
The countersinking circles will be facing outward when mounted into the base with the angled slot pointing towards the hanging hole.
These panels will be outermost when inserted into the base plate.
Next, take hold of the two side panel pieces that, unlike the other side panels, have no tabs on the top or bottom.
These are the middle side panel pieces.
Again, make sure the slots point towards the hanging hole and match the slots in the outer side panels.
Finally, insert the inside side pieces, once again lining up the slots pointed towards the hanging hole.
At this point, verify that you can see through the slots, that everything is correctly mounted, and that the countersinking holes are facing outward on your side panels.
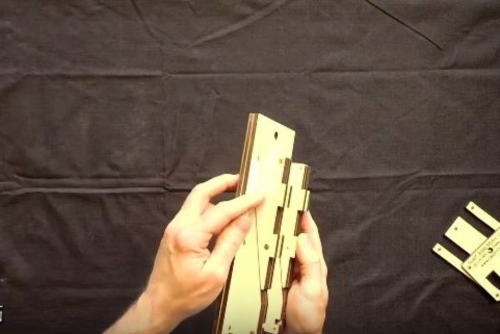
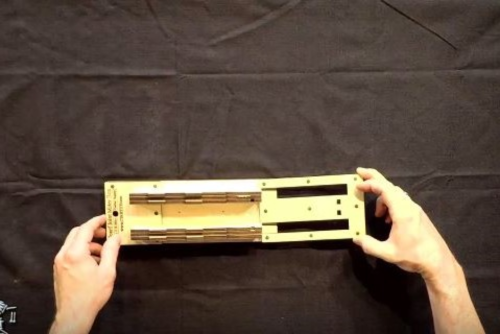
Now take your top plates and prepare to insert them onto the base.
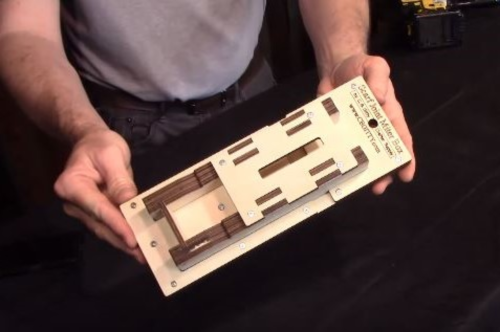
The top plate comes in two pieces with branding, the hanging hole, and countersinking circles visible.
There are no countersinking circles or brandings on the bottom side.
Line up the hanging hole on the smaller piece and slide that into place on the base.
Take the longer piece and slide that into place.
You should end up with this cutting gap-notch lined up with the bottom-end of the saw slot.
At this point, it's time to begin inserting screws.
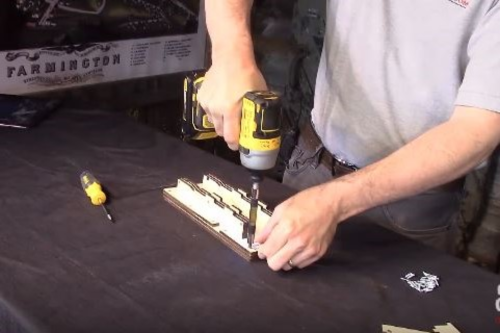
Begin inserting your screws through all the holes in the base plate.
There are 14 screws to be inserted.
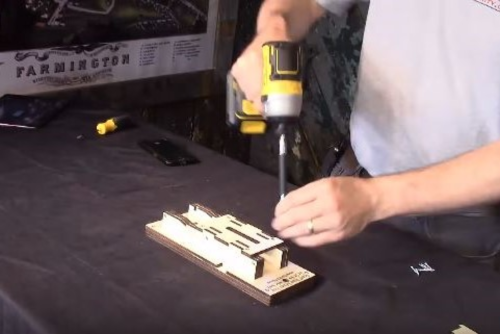
You can use a hand screwdriver for this, or a power screwdriver, if you have one.
Make sure you use a fine-tip bit.
A #1 bit is recommended.
And if you've got a power-driver, avoid over-driving the screws.
You want them to just be flush with the surface of the plywood.
The countersinking circles will allow the screw to be inserted until the screw-head is flat against the top base plate.
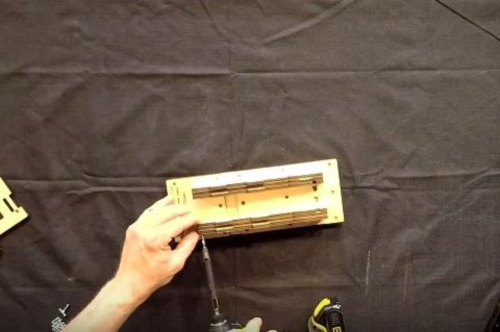
Once you have all 14 screws inserted into the base plate pieces, it's time to begin screwing together the side panels.
There are six screws that go into each side panel.
However, as currently inserted, only three of the holes along the top of each panel are visible.
Begin by inserting the three screws along the top edge of each panel with the pieces inserted into the base.
Try to squeeze the side panels together as you're inserting the screws to make sure you have a snug fit.
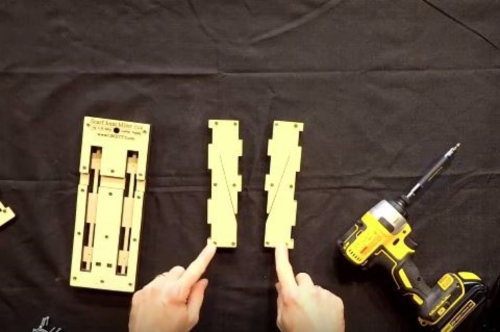
Once the top screws are inserted, pull the side panels out of the base.
Now insert the bottom row of screws making sure to get the screw-head at least flush, or slightly countersunk beneath the plywood surface.
This will allow the side panels to fit back into the base.
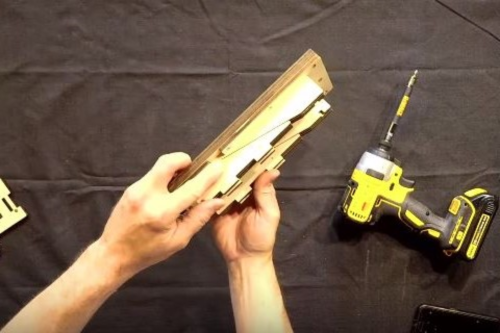
Once done inserting the screws, test the fit by re-inserting the side panels back into the base plate.
If the screw-heads prevent the side panels from inserting into the base, pull the side panel back out and get the screws in there a little bit further.
When re-inserting the side panels into the base, make certain the saw slots end at the cutting gap.
Now take the top panel with the countersinking circles facing upward and fit it onto the tabs on the side panels.
Then insert the screws.
Now turn the miter box over exposing the four holes with the countersinking circles seen on the bottom of the base plate.
Insert four screws, one into each hole.
Be careful to get these screw-heads flush or slightly countersunk beneath the surface of the wood so the miter box will sit flat when used.
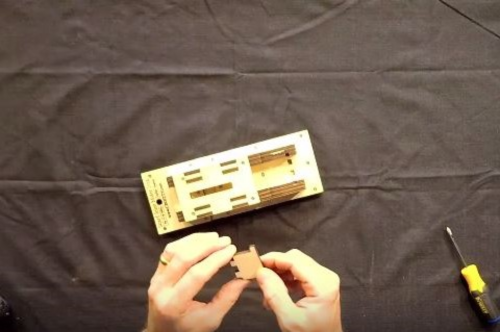
Finally, take the depth stop and insert it into its position.
If the fit is a little too snug, use some sandpaper to thin down the end-pegs so that the depth stop fits snug, but not too tight to get back out.
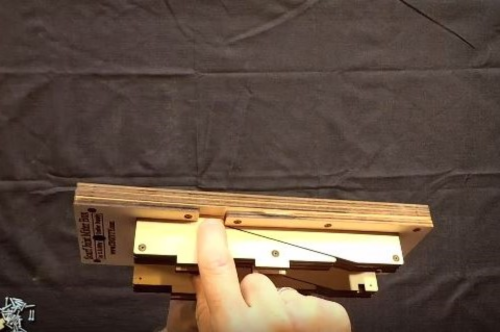
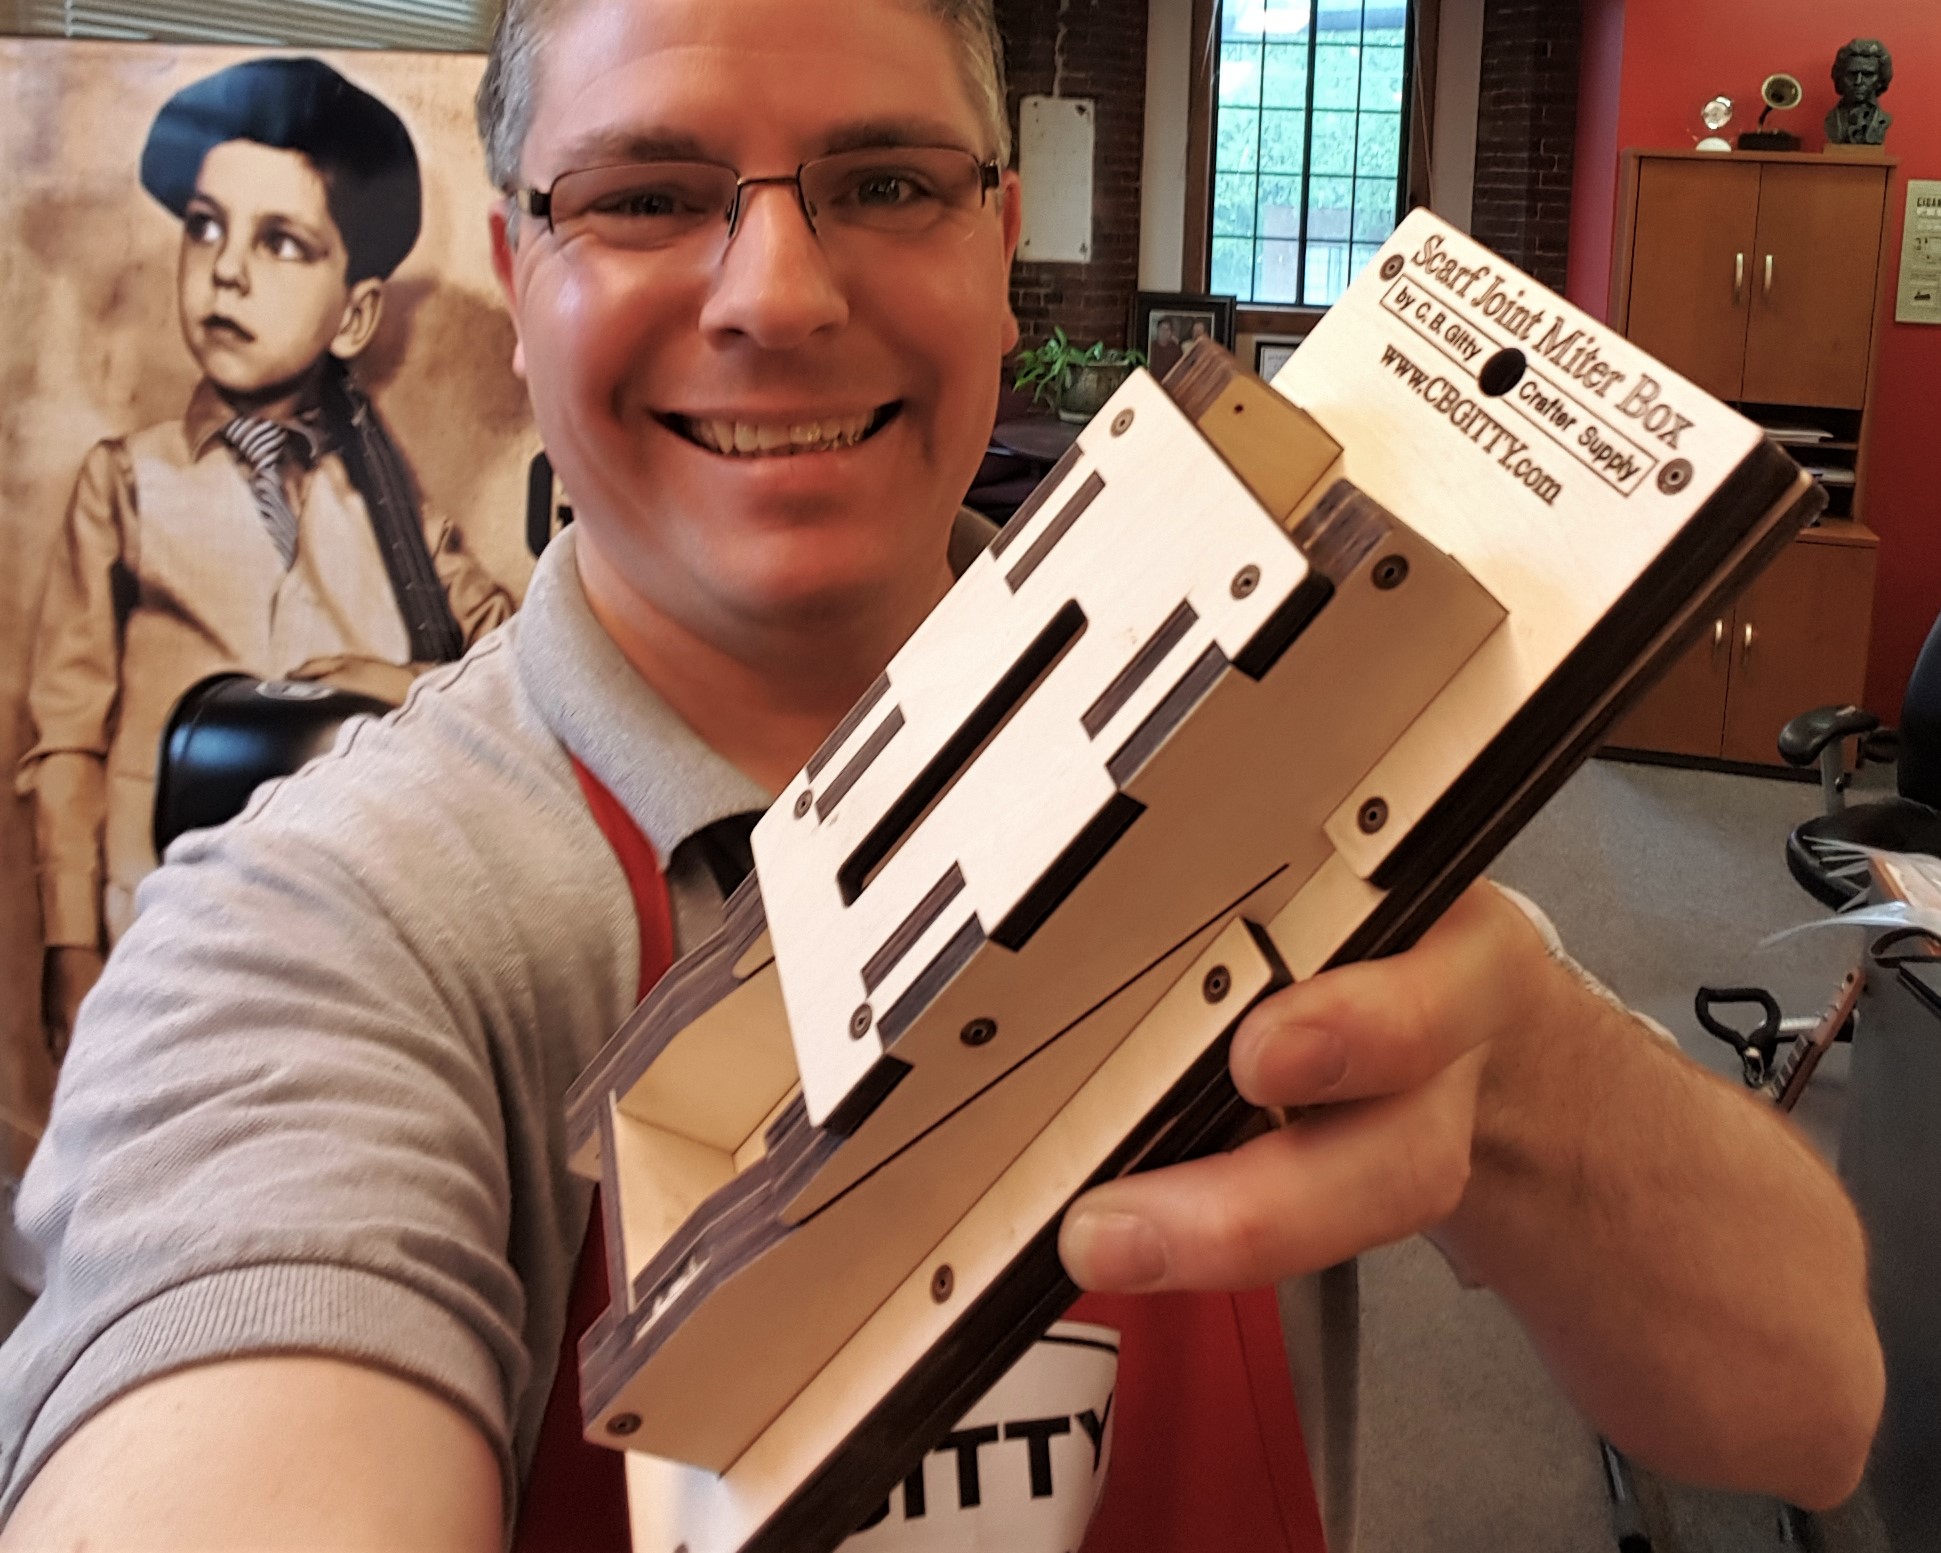
Your scarf joint miter box is now complete.
Cut perfect scarf joints with your own scarf joint miter box!
Easy to assemble and use for perfect scarf joints.
Part 2: Making Your First Scarf Cut
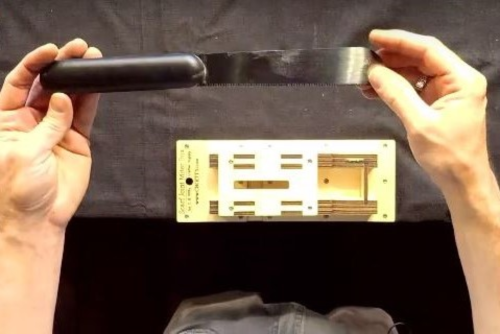
To use your scarf joint miter box you will need a thin, flush-cut saw with a narrow kerf; the narrower the better.
It is also recommended that you clamp the miter box to a benchtop or mount it to a larger board that can be clamped down for stability while sawing.
You can choose whether to use the depth stop.
Using the depth stop will yield a headstock on your neck that is roughly 5.25 inches long, which is great for cigar box guitars.
If you want a longer headstock or some sort of different arrangement, you can remove the depth stop and make the cut wherever you wish.
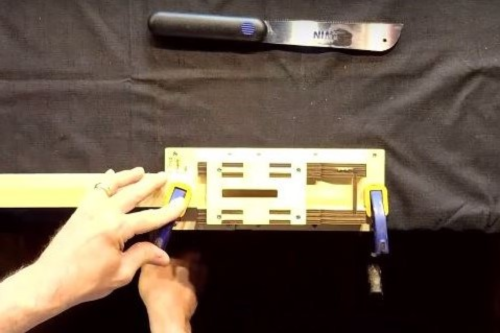
Clamp the depth stop-end of the miter box to your work surface.
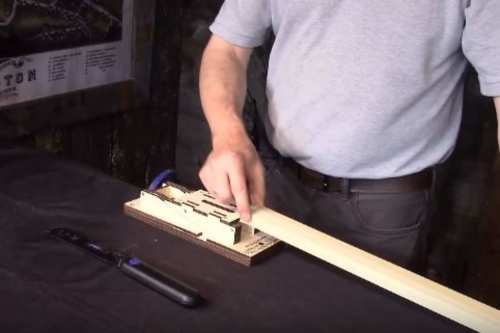
Insert the neck into the miter box.
These miter boxes are made for necks exactly 1.5 inches wide.
If your neck is 1.5 inches wide, you should have a nice, snug fit with no side-to-side movement in the miter box.
If you're using a narrower neck, you might want to use shims to hold it in place while sawing.
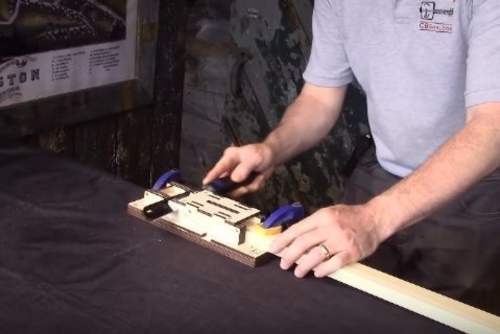
Then clamp down neck and all so that everything is held nice and snug.
Using your flush-cut saw, begin sawing.
Do your best to move your arm exactly horizontal, not pulling up on the saw or pushing down which will cause the teeth to cut into walls of the miter box saw slot.
You should be able to feel when the saw has gone all the way through the neck.
Try not to cut into the miter box as this will weaken the overall jig.
It should take about 30 seconds to a minute of gentle, steady sawing to cut through most woods, although harder woods will, of course, take a little bit longer.
Remove your saw.
Undo the clamp holding the neck in the miter box.
Remove the neck.
Undo the clamp holding the depth stop-end of the miter box.
Remove the top headstock piece.
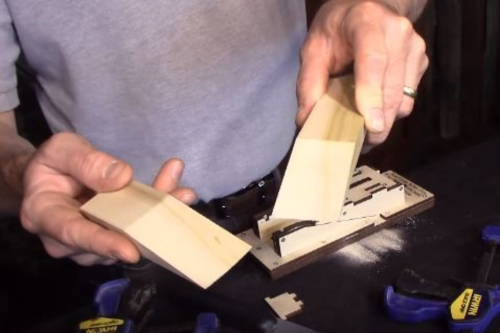
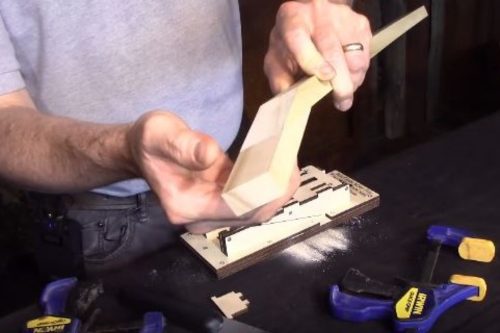
And you will see that you have a perfect scarf joint cut.
Put the two pieces back together so that the joint line is about halfway up the headstock.
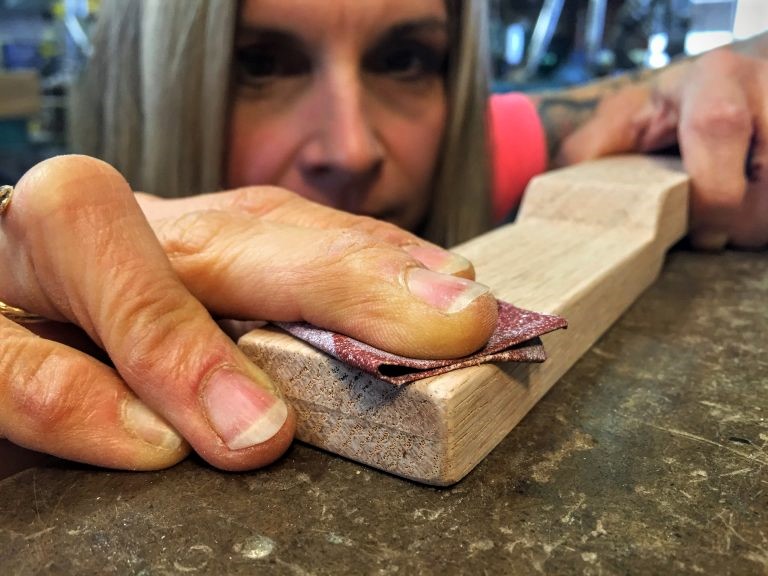
With a little gentle, touch-up sanding, you can glue and clamp the perfect scarf joint, cut by hand.
As you can see, using only a screwdriver you can assemble this kit in about 15 minutes.
So say goodbye to awkward, frustrating cuts and say hello to consistent, attractive, and reliable scarf joints.
Get your own scarf joint miter box kit today.
Want to try something different?
End Your Search - Here's The Ultimate DIY Straight Headstock Guide You've Hungered For
Looking for a more traditional look for your cigar box guitar headstock?
Why not try the straight headstock posted below?
It takes only a handful of tools you already have and a bit of elbow grease.
Discover how to build with a straight headstock here.
Recent Posts
-
2024 World's Wildest Electric Cigar Box Guitar Build-Off Winners!!!
C. B. Gitty Crafter Supply is proud to announce the winners of the 2024 "World's Wildest Electric Ci …31st Oct 2024 -
Improved C. B. Gitty: Easier Than Ever! (Work in Progress)
Ben “Gitty” has been cleaning house, making our website even easier find your favorite parts, kits a …7th Oct 2024 -
Build-Off Contest 2024: The World's Wildest ELECTRIC Cigar Box Guitar
CBGitty.com is looking for the WILDEST, LOUDEST & MOST DIABOLICAL electric cigar box guitar ever …6th Sep 2024

