

From Woodshed Tinkering to Product Launch - the Story of the Psycho Box
 We've always got new product ideas in the works here at C. B. Gitty. From new kits and parts packs to cigar box amplifiers and guitars to expanded variations and options for existing products, there is always a lot "in the chute" waiting to be gotten to.
As the company has grown and things have gotten more complex, the path from idea to listed product has become more involved.
Still, when something really gets us excited, we find ways to hurry it along.
This is the story of one such product - our newly released Psycho Box Distortion Pedal kit.
I want to walk you through the timeline from start to finish so you can get an idea of the machinations we go through behind the scenes.
- Prelude - We have been carrying the Artec QDD distortion driver circuit board for a few years. Last year sometime, on Shane Speal's advice, we relaunched it as the "Psycho Knob."
- Wednesday, March 1 - Shane is tinkering in his woodshed and decides to try something new with a psycho knob circuit board. He tells me he's going to set it up as a standalone distortion pedal sort of thing in a small cigar box, and maybe write up a feature on the result. He is thrilled with the results.
- Thursday, March 2 - Shane writes up his feature article and posts it here on the CBGitty.com blog. He also records and publishes a demo video.
- Friday, March 3 - I get around to watching the demo video, and think, "Hey, that's really neat, we need to do this as a kit."
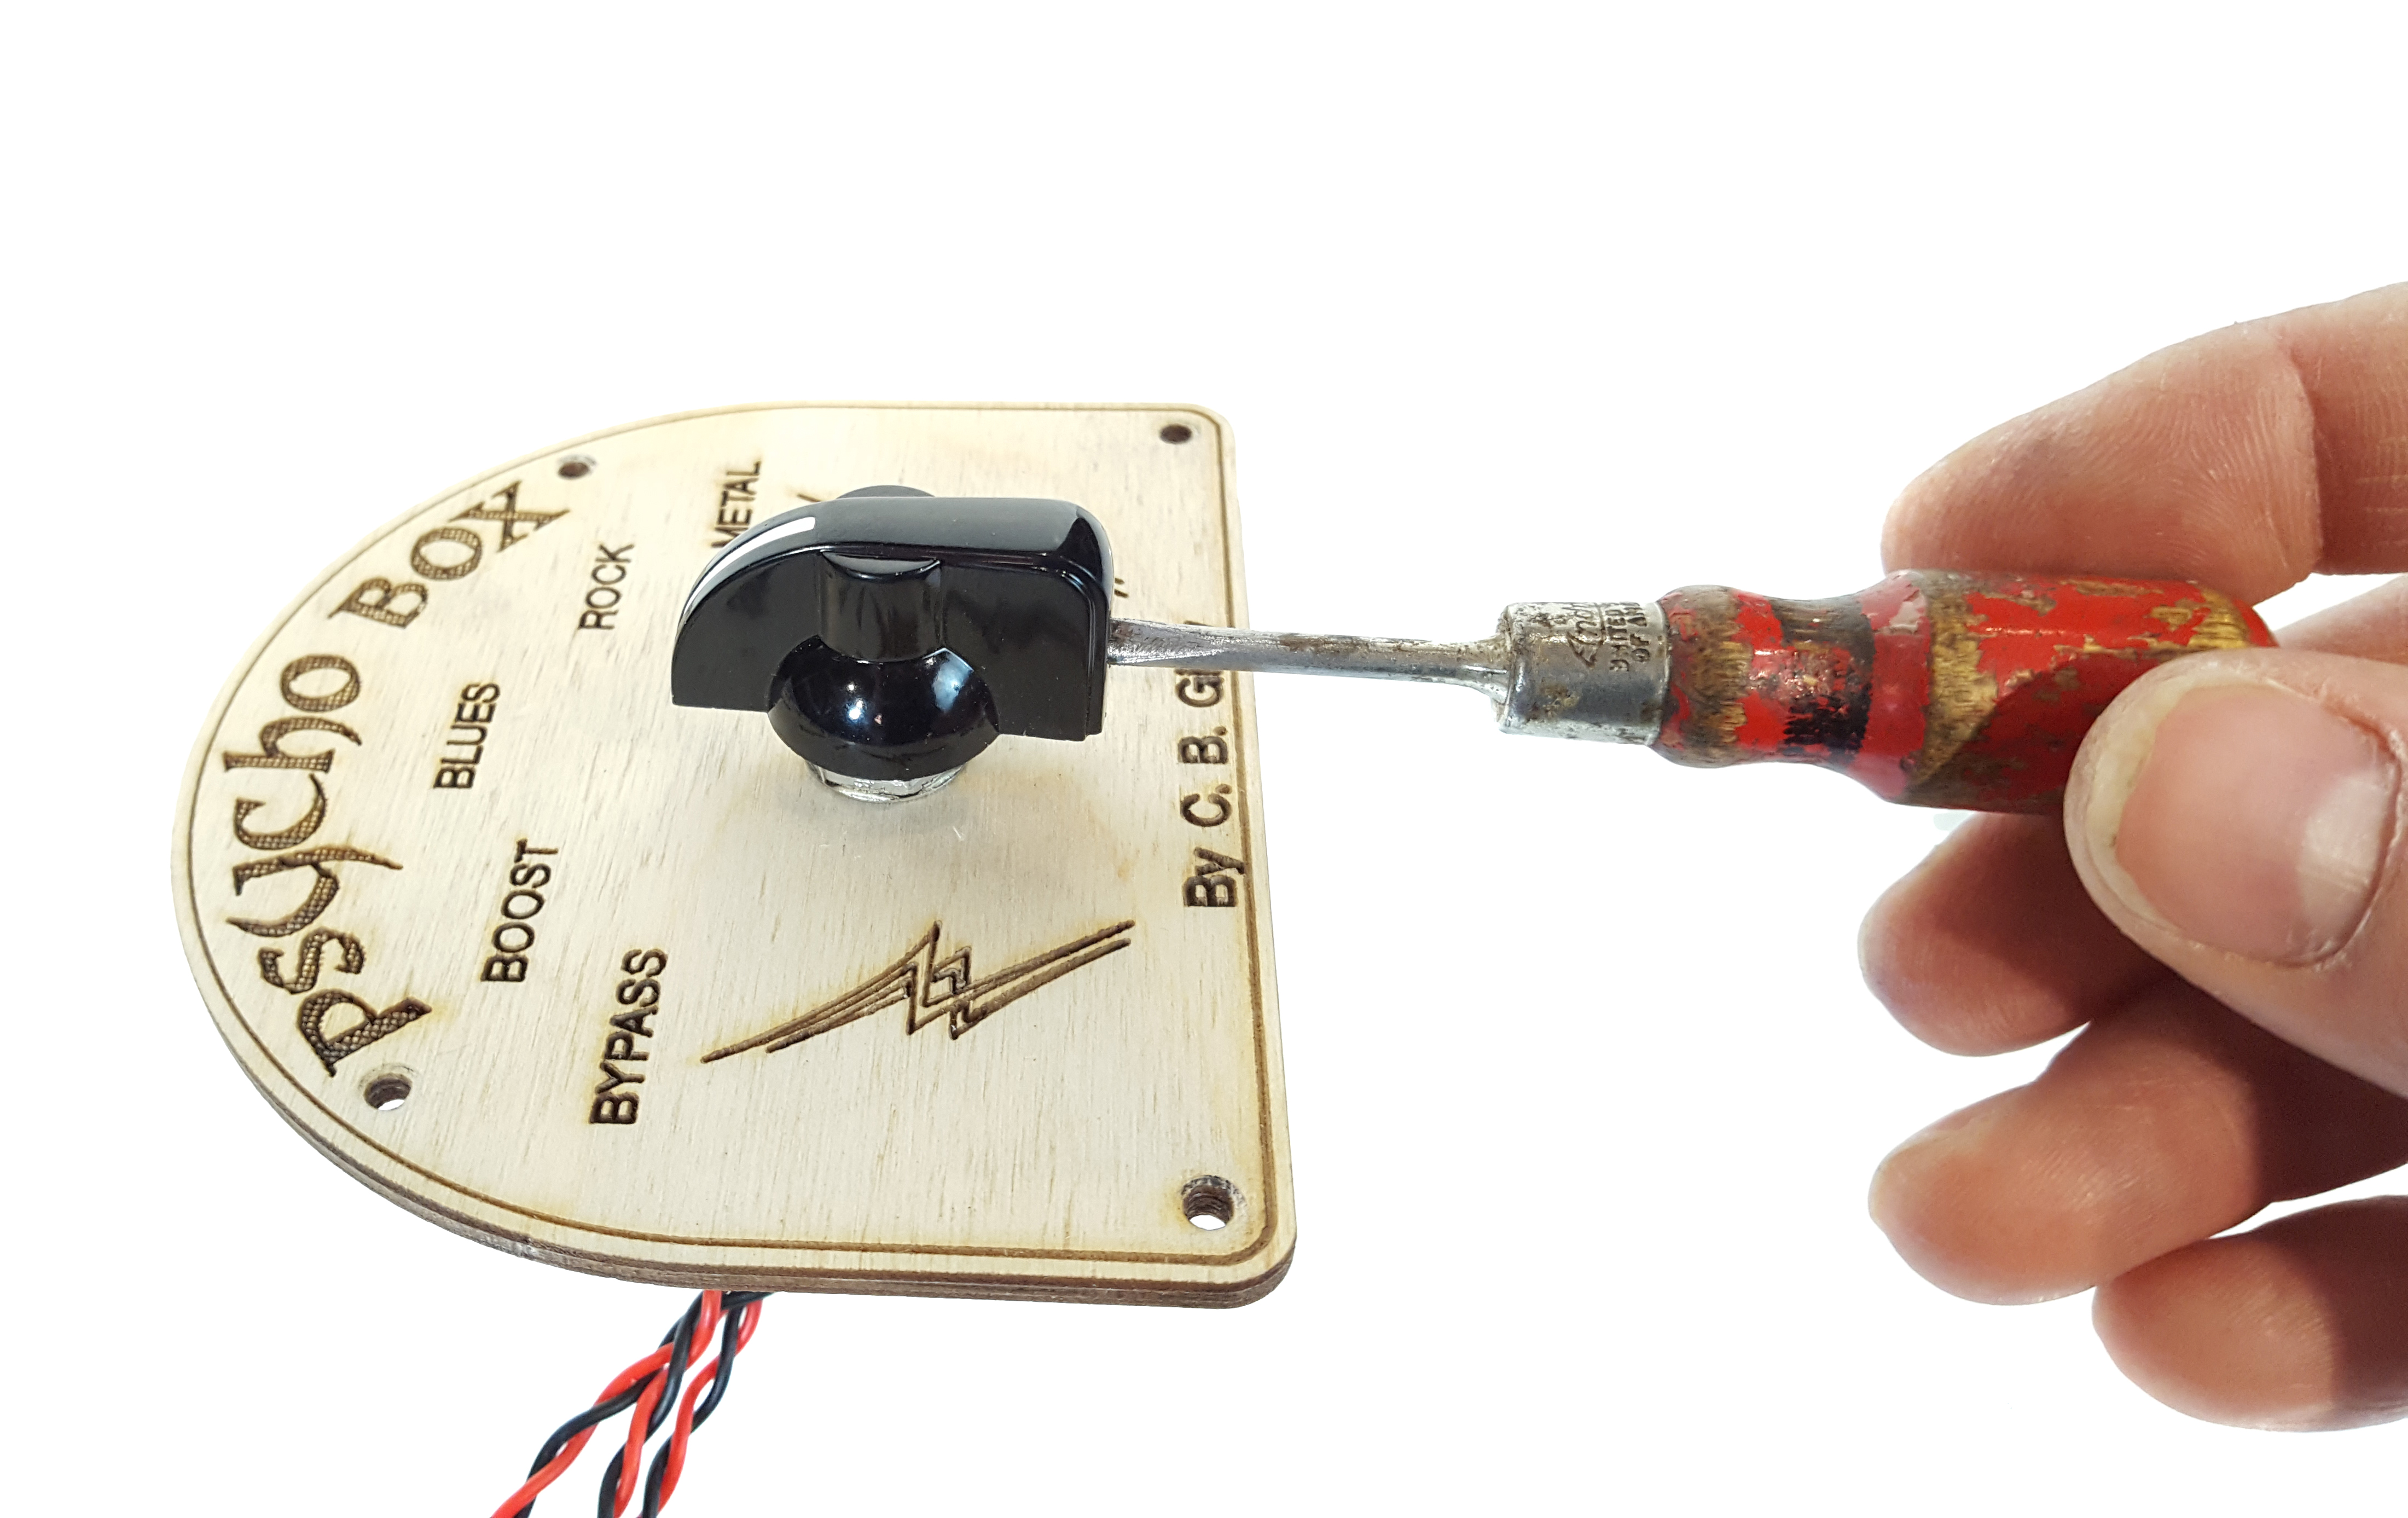 Sunday, March 5 - I spend some time working on a design for the faceplate for the kit. The idea being that an engraved faceplate will allow it to be easily mounted into pretty much any cigar box; plus the engraving can include position markers for the different effects. After messing about with a skull design, and consulting with Shane, I settle on the current tombstone shape and cut the first prototype.
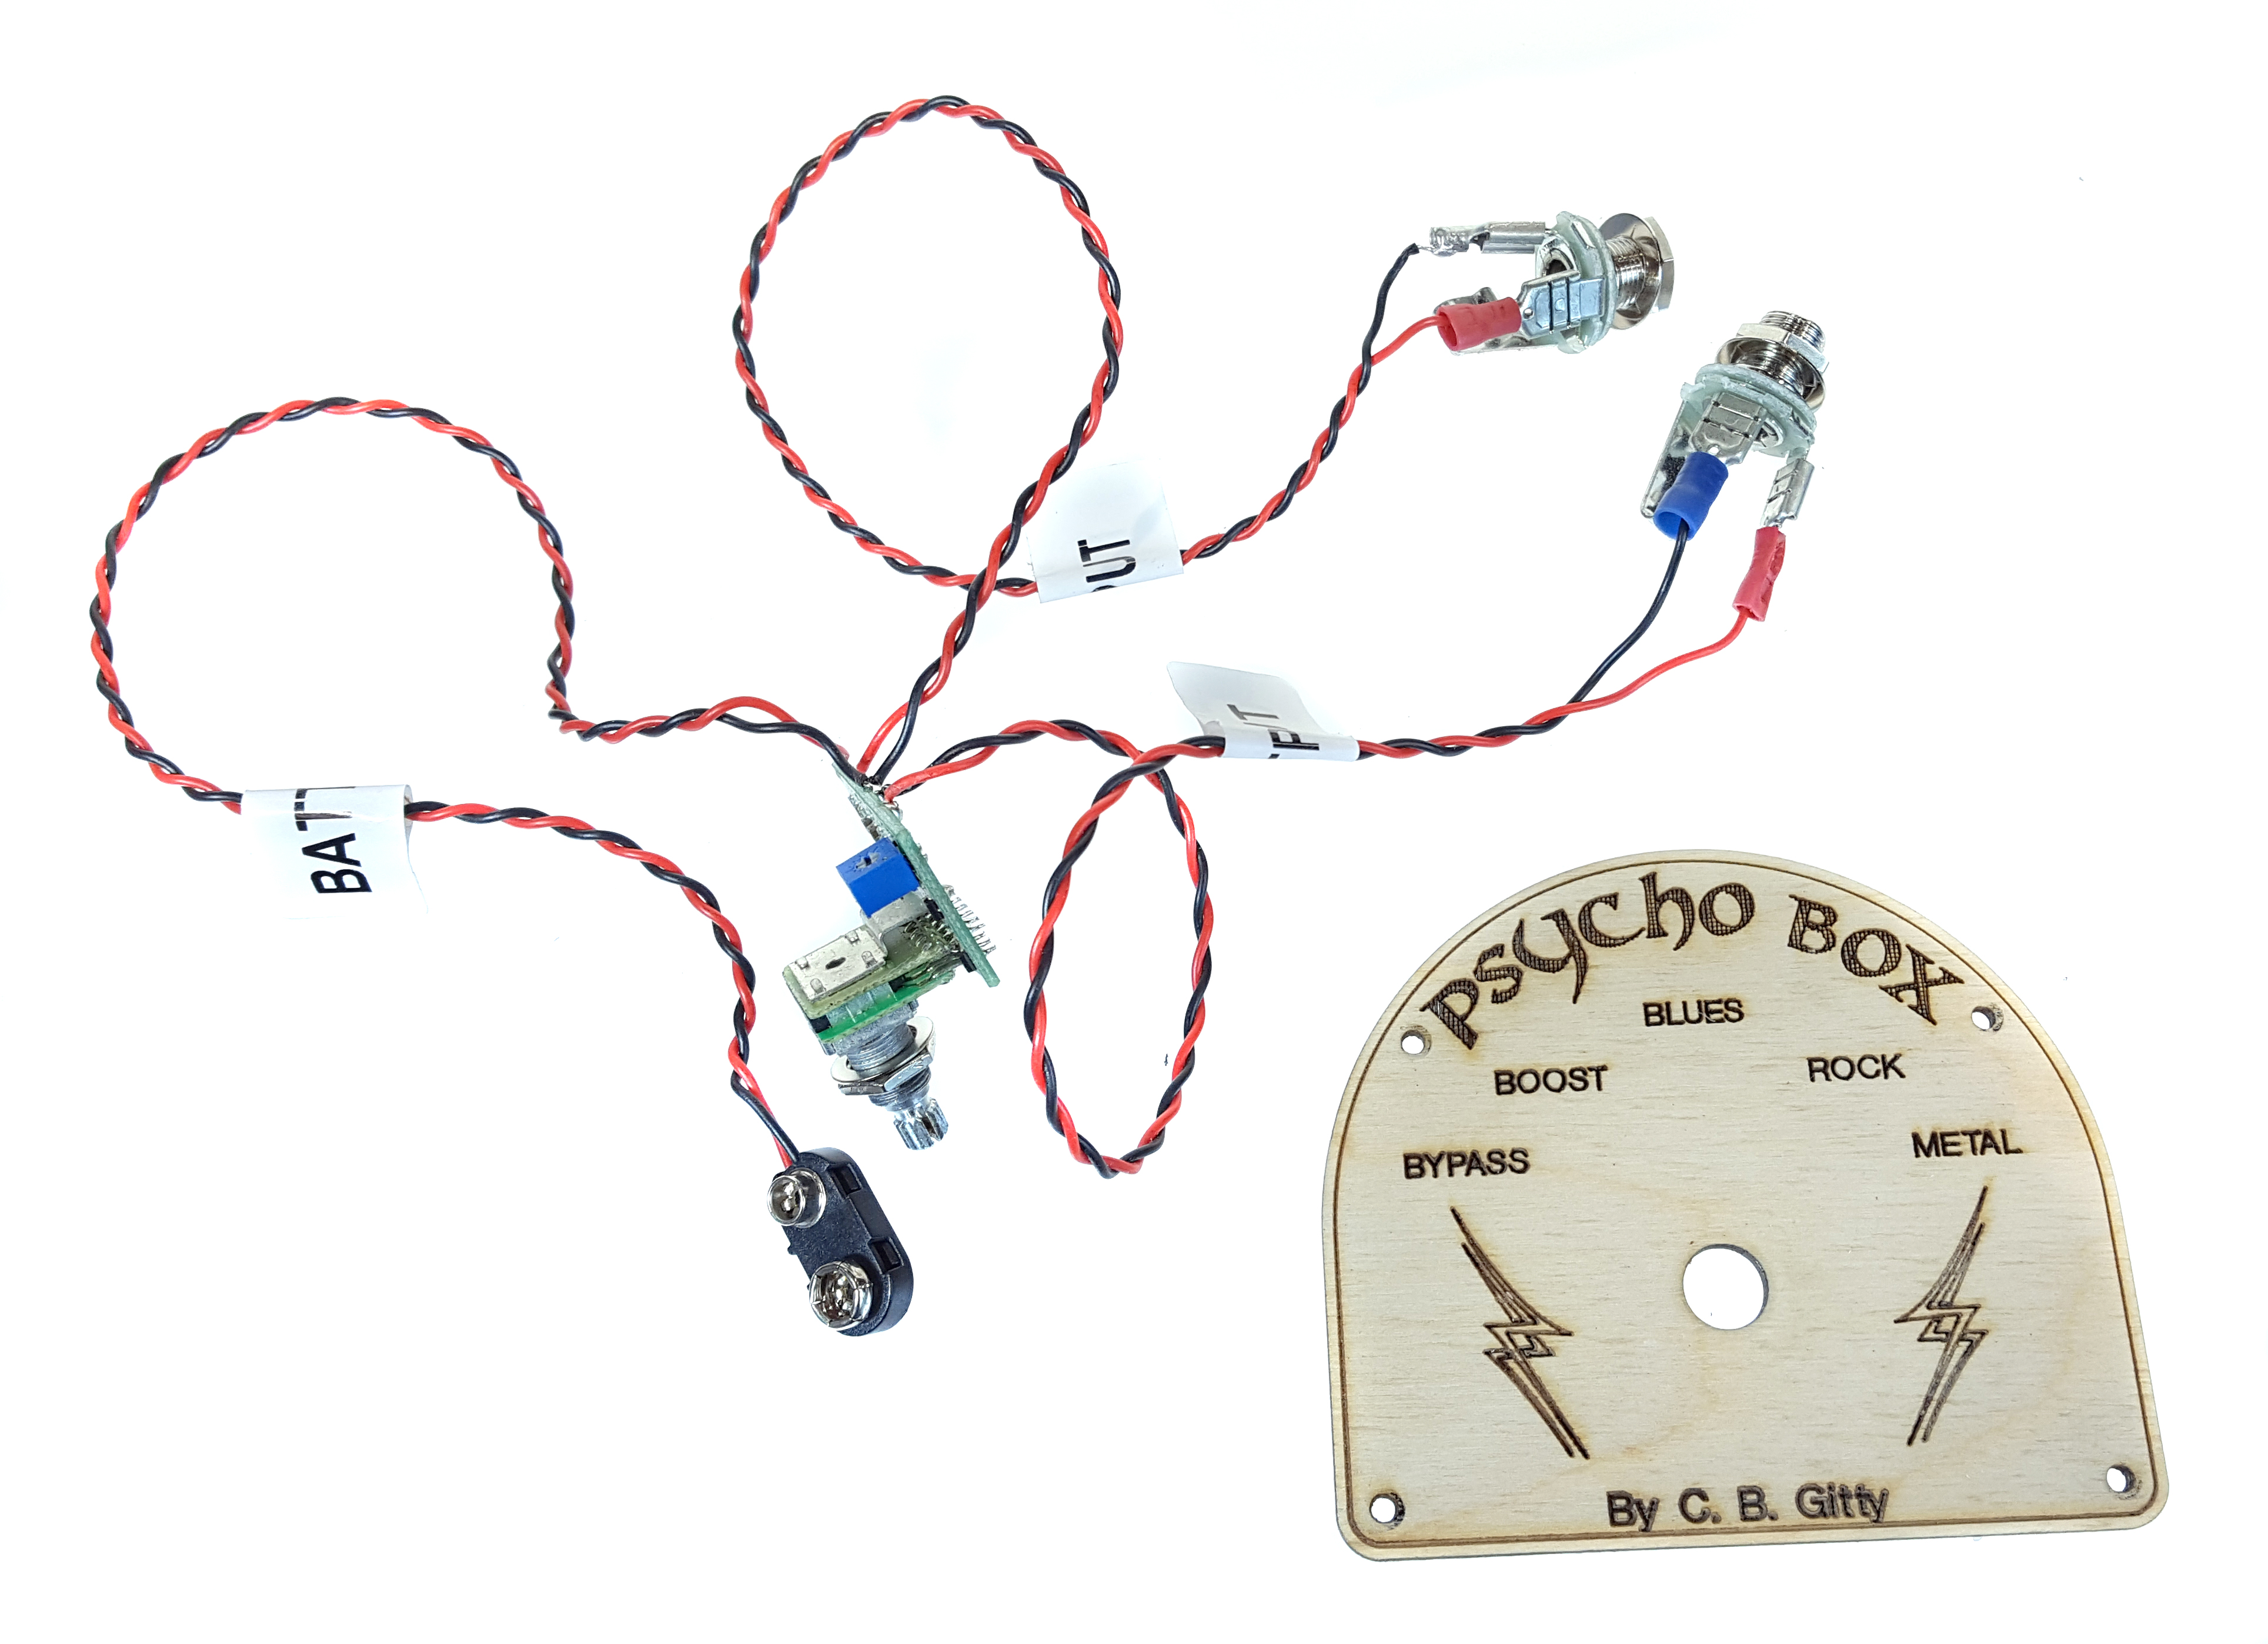
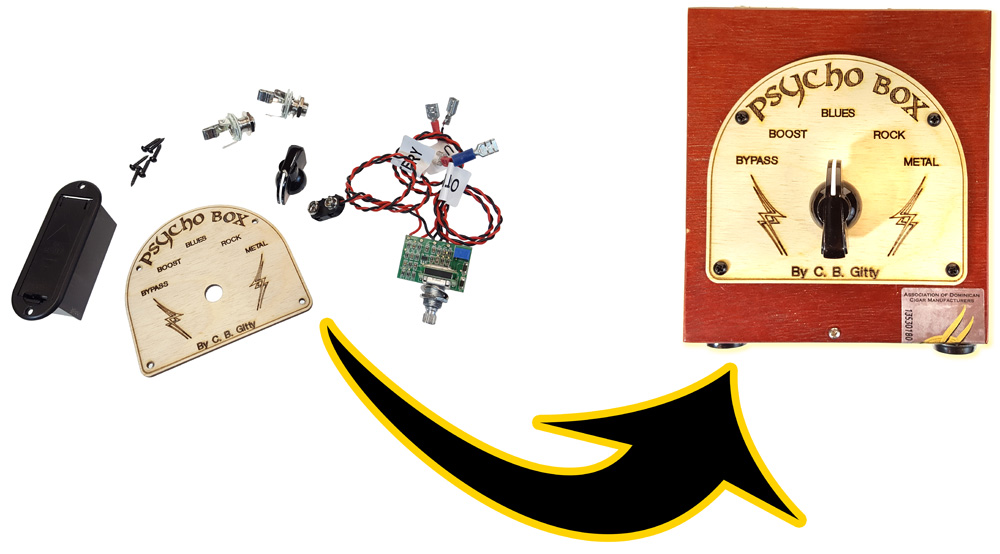
- Monday, March 6 - Based on Shane's prototype, we figure out the exact parts list to include in the kit: the Psycho Knob circuit board, the custom faceplate, two jacks, a battery tray (so the battery can be replaced without opening the box), a chickenhead knob, and some black screws. We decide not to include a cigar box or decorative hardware, to keep the base price of the kit down to $33.99. Spend some time with R&D to figure out how to make the kit entirely "no soldering required" - after some testing, settle on crimp-on press-fit connectors. Order the parts.
- Tuesday, March 7 - I take initial photographs of the kit parts, and assemble a prototype kit from them, taking photos as I go. Begin photo retouching end editing. (Begin a side project of building a cigar box octave mandolin for my upcoming St. Patrick's Day gig).
- Wednesday, March 8 - I finish photo retouching and begin work on the how-to guide. Writing and laying out the how-to guide for a kit is always the hardest part of the whole endeavor.
 Thursday, March 9 - Continue working on the how-to guide. Finish octave mandolin project and do a live broadcast to talk about resonators.
- Friday, March 10 - Continue working on the how-to guide. First drafts printed and proofed. Crimp-on connectors arrive, allowing packaging to begin, but it's too late in the day on a Friday to start so no further progress.
- Saturday, March 11 - Shane Speal uses his prototype psycho knob in concert and loves the different sonic effects it gives him. He raves at me about it afterward. I determine to get this thing on the market as soon as possible.
- Sunday, March 12 - rehearsal with my old Irish band Bradigan - St. Patrick's is just a few days away! No work on the Psycho Box for me!
 Monday, March 13 - the day it comes to life.
- I finish the how-to guide and print final draft. Realize there are two blank pages, and add some more stuff.
- Print the the FINAL final draft.
- Figure out packaging (choose the small white cardboard box) and create how-to packaging sheet (with photos) for the Packaging Department.
- Design and print the round label design for the box.
- Talk to Glenn about crimping on the connectors. We step through the process together until we are both satisfied with the quality of the crimp connection.
- Run print job for the guides, and fold up the boxes.
- Make sure the Packaging Department is set on the process, and leave them to it.
- Glenn delivers the Psycho Knob circuit boards with the connectors crimped on.
- I begin creating the listing on CBGitty.com. Tweak the photos, revise the text a couple of times.
- Realize I left some stuff out of the listing, come back and add that.
- Set listing live, and tell Shane it's on. He begins working on banner ad graphics and related materials for the website and newsletters.
- The first kit sells on CBGitty.com before we've even announced it (thanks Rich Reger!)
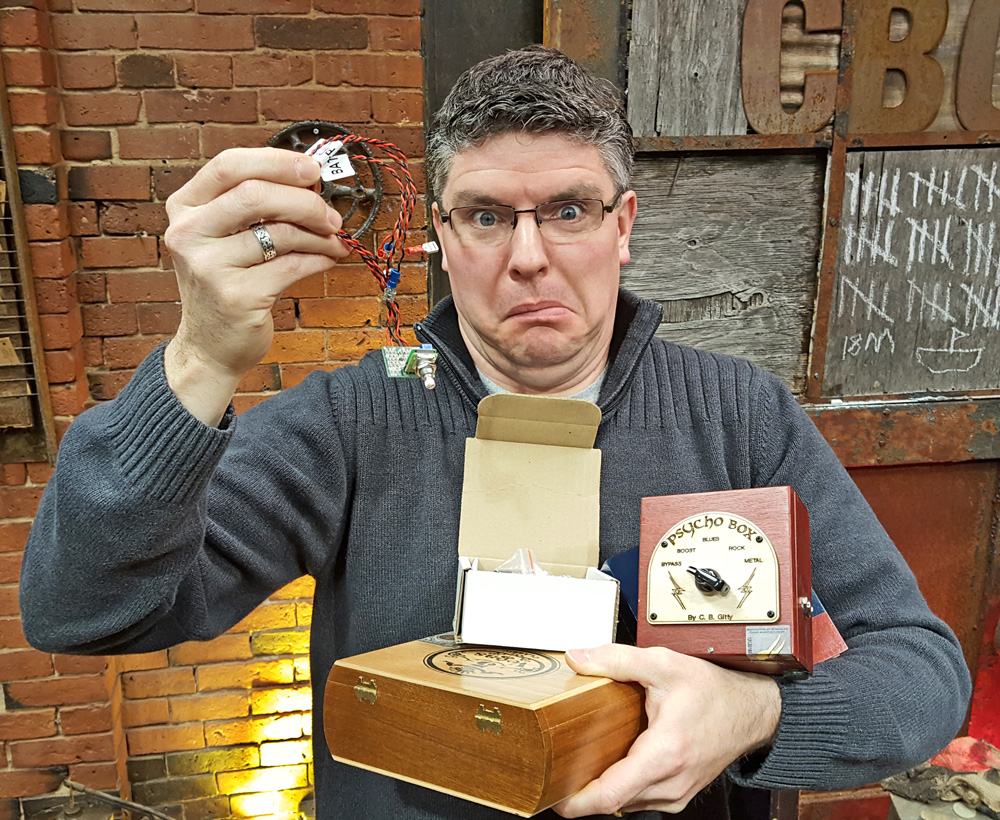
 Ask Nick to help take a picture of me for this blog post, juggling all of the parts and looking confused.
 - Complain about how visible my double chin is in the photos, but decide to just live with it.
- Start writing this blog post.
- Finish this blog post. Sigh and say WHEW.
And that's the story of the Psycho Box Kit from a crazy idea in Shane's woodshed, to the latest kit product for sale on CBGitty.com. Really, it's how a lot of new product development goes around here. We stumble onto something, get excited about it, and want to share it with the CBG community.
Click here, or on the picture of the kit above, to see the full product listing, if you are interested. I hope you've enjoyed this behind-the-scenes look!
Before we go... here's the original demo video Shane did with his prototype, showing off the different sounds this thing can put out. Watching this video is what convinced me this thing needed to be a full kit!
Psycho Board Projects

Build a Cigar Box Distortion Unit With This Easy Hack
C. B. Gitty introduced the Psycho Knob internal distortion, an easy-to-install circuit that added fuzz effects inside your guitar.
Now Shane Speal shows you how to hack the kit to become a standalone unit that can be used on all your electric guitars!

Dead Cigar Box Guitar Given "Frankenstein" Life with C. B. Gitty Parts, Psycho Knob
After countless gigs and constant abuse (including throwing the guitar across stage at the end of gigs), Shane Speal brought this CBG back to life with parts including the Psycho Knob Distortion board.
Recent Posts
-
Steve Holladay's "Pocket Box Guitar"
If you're a member of the Friends of C. B. Gitty group on on Facebook, you've probably seen some of …14th Jan 2026 -

2024 World's Wildest Electric Cigar Box Guitar Build-Off Winners!!!
C. B. Gitty Crafter Supply is proud to announce the winners of the 2024 "World's Wildest Electric Ci …31st Oct 2024 -
")
Improved C. B. Gitty: Easier Than Ever! (Work in Progress)
Ben “Gitty” has been cleaning house, making our website even easier find your favorite parts, kits a …7th Oct 2024