

Piezo Pickup Basics: Using Disk Piezos In Cigar Box Guitars - Part 2
Confused about where in your cigar box guitar to install a disk piezo pickup? Or perhaps how to install one?
Those questions and more are answered in this second article of a two-part series about using disk piezos in cigar box guitars.
Here in part 2 we move from theory and general information to concrete how-to info you can put to direct use in your builds.
There are two main themes to this article:
- WHERE you should mount your piezo
- HOW you should mount it
Both of these are very important to consider when your goal is to get the best possible sound out of your cigar box guitar.
Where to Install a Disk Piezo Pickup
A piezo is a versatile electrical component, and the options for placing one in your cigar box guitar are pretty broad.
We will cover some of the most popular/effective placements here, and in the next section we will discuss some different ways of mounting them to help get the best sound.
First though we need to talk about one of the nicest features about a piezo, and that is that it can be cut and shaped to fit your intended placement.
So long as you are still able to attach one lead to the ceramic and one lead to the metal, it will still function as a pickup.
So you can cut a thin strip for attaching to/embedding in a bridge, you can cut an oblong oval for mounting under the lid, or some other custom shape.
You can also drill a hole in the piezo and put a screw through it to mount it instead of glue.
This feature makes the simple piezo even more versatile for use as an instrument pickup.
Now onto where you can install a disk piezo pickup...
In/On the Bridge
Many builders get good results from either embedding a piezo inside the bridge (sandwiching it between wooden pieces, for example), or by attaching it to the outside of the bridge.
You can also paint the piezo to help match it to the color scheme of where it being attached.
Just make sure you don't use a conductive paint!
The wires soldered to the piezo can be run down through a hole drilled just behind the bridge, and attached to a jack in the body.

Between the Bridge and the Sound Board
Because a piezo reacts to vibrations, placing it directly underneath the bridge, so that it is sandwiched between the bridge and the outer surface of the soundboard (the top of the cigar box that makes up the top of the instrument) is a prime location for picking up sound.
As above, the wires can be run through a small hole drilled through the sound board and attached to a jack.
This method is especially good if you carefully cut the piezo to match the base of your bridge.
However, this method doesn't leave many options for insulating or cushioning the piezo (discussed later in this article).
Inside the Box
Perhaps the "standard" method of mounting piezos in cigar box guitars, attaching the piezo to the inside of the box has been used by many, many builders over the years.
Finding just the right "sweet spot" for it inside the box can be a bit of an art form, and will vary from build to build and box to box.
Our advice is to start with it just below the bridge, more towards the bass side (the fatter strings) than the treble side.
If possible, build your CBG in such a way that you can open the box after the instrument is complete, so that you can try moving the piezo around to test how it sounds in different places inside the box.
Remember that the piezo responds to vibration. The more vibration it encounters, the more sound it is going to put out - so having it as close as possible to the epicenter of vibration (the bridge) is generally recommended.
Other Options
The great thing about cigar box guitars is that there is so much room for experimentation.
If you try something and it doesn't work, just take it apart/undo it and try something else.
This premise definitely applies to piezo placement - you can put them all over the place and see what kind of sound you get.
One could be placed under the nut up at the headstock to see what sort of sound is produced there.
Or one could be placed down in the tailpiece.
Or you could go hog-wild and put piezos under a strip of wood all along the neck.
The end result might not always be practical or pleasant to listen to, but you will have fun doing it!
A Note on Multiple Piezos
You are certainly free to use multiple piezos in a single build.
Doing so can provide some interesting opportunities for creating unique sounds.
The question often arises as to how multiple piezos should be wired - in parallel or in series.
Wiring in parallel means that each piezo has its own wires that run back to the jack.
Wiring in series means that you "daisy-chain" them, one to another, so that only two wires go back to the jack.

There is some varying opinion on this, but the majority opinion seems to be that you should always wire piezos in parallel.
When wired in series, each piezo changes the total impedance (think "sound pickup potential") of the whole circuit, so wiring in parallel tends to produce more consistent results.
However, here again - experiment with both and reach your own conclusions!
Ready to install a disk piezo harness in your cigar box guitar?
Piezo Mounting Methods
Having discussed WHERE you should mount your piezo, now it's time to talk about HOW you should mount it.
There are a few basic ways of mounting a piezo, which will of course depend on where you decide to mount it.
Most of these methods apply to when you are mounting the piezo inside the box, but some of the principles can be applied to other mounting placements.
Methods of mounting vary a good deal and include
- taping it to the inside of the box
- gluing it using a variety of different glues and adhesives
- drilling a hole in the piezo and mounting it with a small screw
- encasing the piezo in some other material before mounting
We will discuss each of these briefly in turn, to give you an idea of the pros and cons that apply to each.
Taping
This is probably the simplest way to attach a piezo to a cigar box.
It can be used either inside or outside the box, but if looks are a concern you probably won't want to slap a piece of duct tape to the outside of your build.
A good strong double-sided tape is a good choice for this, as is duct tape, though of course there is a chance that in time it will let go.
Tape can be a good way to test a piezo in different spots, if you are able to open up your box after it is complete.
Once you find your "sweet spot" though we would recommend moving on to one of the other attachment methods to make it more permanent.
Gluing
Using glue to attach a piezo is probably the most common way of doing so, and we feel it is one of the best.
A range of different adhesives can be used, from epoxy to hobby cement to silicone adhesive to hot glue.
Pretty much any general purpose glue or adhesive will work, but in our experience those that offer a bit more insulation are ideal.

For example, a rubbery adhesive like silicone can help to insulate and cushion the piezo a bit, creating a buffer zone between it and the hard wood of the box top.
As will be discussed in more detail below, this cushion can help to modulate and moderate the sounds and cut down some of the harsher tones.
Hot glue from a glue gun can also be used to encase the piezo and give it some cushion.
An adhesive that dries hard, like epoxy, will provide less cushion and can lead to your piezo being "hotter" in terms of what it picks up.
As mentioned above, if possible it can be a good idea to try your piezo in different placements with tape before gluing it down permanently.
Screws
It is fairly easy to drill a small hole in the center of a piezo so that you can put a screw through it for attaching it to your box.
Just be sure to wear gloves or (gently) hold the piezo with pliers when drilling - a spinning metal disk can cut your fingers badly before you even have time to react.
Also be sure to choose a short enough screw so that it will not go all the way through your box - this can be a very unpleasant surprise.
One thing to note about using this method is that by itself, it provides NO cushion or insulation for the piezo at all.
You just have the bare piezo against bare wood.
This can cause some harshness in the pickup's response, so consider putting something between the piezo and the wood to cushion it a bit.
A small piece of rubber or a small dollop of plumber's pipe dope can work good for this.
See below for more discussion on cushioning and insulating a piezo.
Encasing/Sandwiching
One of the biggest complaints that people tend to have with piezos is that they can sound a bit harsh.
Whether the issue is with the piezo picking up too many clicks and scrapes when the sound board gets brushed while playing, or tending to be a bit "shrieky", the results are not always exactly what we had in mind.
Fortunately, there are steps that can be taken to help insulate the piezo a bit to help modulate the sound and cut out some of the more annoying stuff.
There are two primary methods: using just glue, or a sandwiching method using some other materials to encase the disk before attaching it to the box.
The glue cushioning method involves using a rubbery adhesive, such as silicone or hot glue, to provide a buffer between the piezo and the sound board.
This method was discussed above under the "gluing" section, and there is not much more to be said about it here.
Just be sure you really try to encase the piezo in the glue, with a nice thick layer between it and the sound board.
Try to get over 1/8 inch if you can, but experiment with different amounts to see how it affects the sound.
The encasing method involves sandwiching the piezo between some other material(s), such as thin pieces of wood, small pieces of leather, etc.
This method can also include dipping the piezo in some sort of rubber coating liquid, like the liquid vinyl they sell for dipping tool handles in.
The point here is to cushion and insulate the piezo a bit, so that its harsher tendencies are reduced and it produces a more even, pleasant tonal response.
The options here really are wide open for experimentation.
Look around your house and workshop and you are bound to come up with some wood scraps, bits of leather or cloth, rubber, or various other materials that could be used for encasing a piezo.
Piezos and Pots and Jacks, Oh My
Before we're done, we should briefly touch on the topic of potentiometers, or pots, in conjunction with piezos.
A pot is basically a turnable knob, such as a volume or tone knob on a stereo.
Known also as a variable resistor, a pot controls how much current/voltage is allowed to flow through the circuit.
For this purpose you generally want a 500K audio taper potentiometer wired into the circuit between the piezo and the jack, though a 250K pot can also work.
Linear taper pots can also work, but they don't effectively increase the perceived volume as evenly as the audio taper (the reasons are fairly advanced, electronically, so we won't get into it here.)
The shaft of the pot can be mounted right through the side of the cigar box, and a knob (either homemade or store-bought) placed over the end of it to dress it up a bit. This can be a nice finishing touch for your build.
Now that you've got the knowledge on where and how to install a disk piezo pickup in your cigar box guitar,
check out all the best disk piezos and pre-wired piezos harnesses for CBG here on our website.
Conclusion
Well that is just about all you need to know (and then some) to get started with putting a piezo pickup into your cigar box guitar.
In the first article of this series we talked about what piezos are and a little bit about how they work.
We also discussed the different options available with piezos, such as pre-wired, brass vs. stainless disks, and size.
And in this article we covered some of the key topics surrounding where you should mount a piezo in your build, as well as discussed how you can mount it to best effect.
Finally, we touched on some of basic aspects of adding a volume pot into your build.
We hope that you find this information useful in your building, and that you are able to create ever better cigar box guitars because of it.
Now, what kind of disk piezo pickup setup will you have in your next cigar box guitar?
Must Reads
If you haven't already, make sure to check out the first article in this series...
Piezo Pickup Basics: Using Disk Piezos In Cigar Box Guitars - Part 1

Are you struggling with how to use a disk piezo pickup in your cigar box guitar? Do want to electrify your CBG with a piezo but don't know where to start?
This is the first article in a two-part series that gives you the bare-bones "here's what you need to know" information to help you install a disk piezo pickup in your next cigar box guitar build.
Click here to read Part 1 of Piezo Pickup Basics.
After mastering disk piezo pickups, check out this article about rod piezos...
What's A Rod Piezo & Why Use One In Your Cigar Box Guitar?
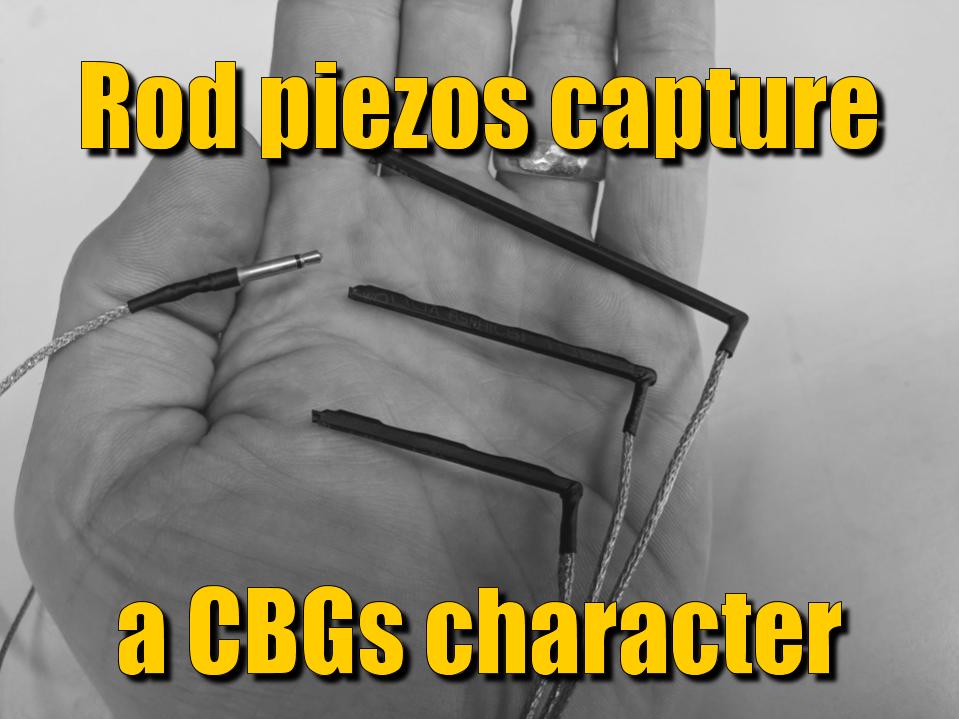
What is a rod piezo? Why should you consider using one to electrify your next cigar box guitar build?
After reading this instructive article, you’ll gain the confidence to build with rod piezos, thereby raising the level all your future electric cigar box guitar builds.
Click here to learn why rod piezos make awesome cigar box guitar pickups.
Recent Posts
-
Steve Holladay's "Pocket Box Guitar"
If you're a member of the Friends of C. B. Gitty group on on Facebook, you've probably seen some of …14th Jan 2026 -

2024 World's Wildest Electric Cigar Box Guitar Build-Off Winners!!!
C. B. Gitty Crafter Supply is proud to announce the winners of the 2024 "World's Wildest Electric Ci …31st Oct 2024 -
")
Improved C. B. Gitty: Easier Than Ever! (Work in Progress)
Ben “Gitty” has been cleaning house, making our website even easier find your favorite parts, kits a …7th Oct 2024